Are you building an internal company portal to manage training materials? Each document is connected to a department by a Meta Box relationship. When staff log in, they’ll only see the documents for their own department, not others. If so, you should not skip this article because today, I will show you how to create a filter posts by relationships using Meta Box and Oxygen.
You may find this topic useful if you are looking to build an internal website. Besides, if you are a seller, like selling courses, you can create courses associated with student groups where each student can only see the courses they have purchased or have permissions for.
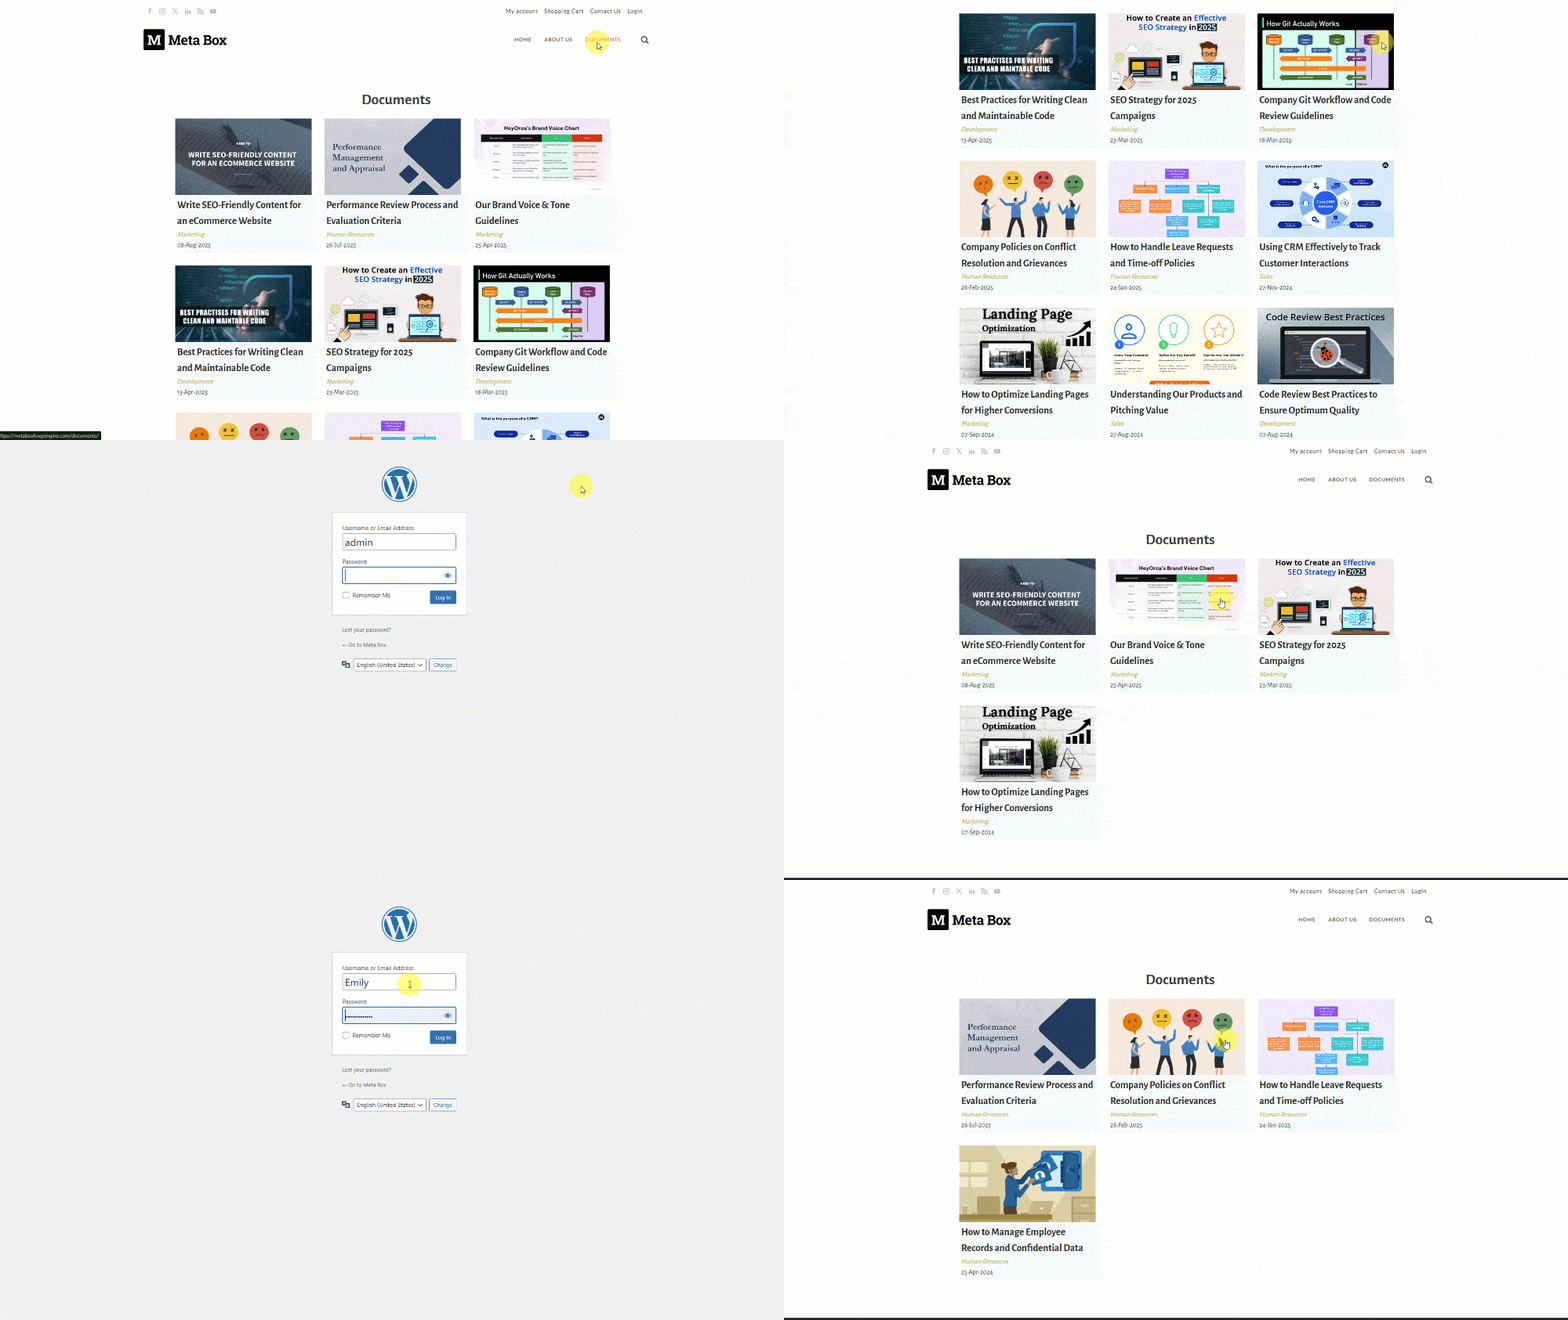
Check out the page I made as an example for users:
Video Version
Before Getting Started
Here I have several Documents and each of them will be a Post. I will create a custom post type for Departments. Then I will create a bi-directional relationship between them. The relationship connects which department will have related posts and vice versa.
Next, I will create a custom field for the work department to classify the department for each user. When the user logs in, they will see the archive page displaying related posts of their department by filter condition. This page is built by Oxygen.
So, we need Oxygen to build the page.
Next, you need Meta Box AIO to have the framework for creating custom post types, custom fields and relationships. As well as the Meta Box extensions inside it provide you with advanced features, specifically:
- MB Admin Columns: to display the related posts and related departments as a column in the dashboard.
- MB Custom Post Type: to create a custom post type for the departments.
- MB Relationships: to create relationships between these post types.
- MB User Meta: to add a work department to user profile.
- MB Builder: to have a UI on the backend to create custom fields and relationships easily.
That’s all. Let’s get started now.
Create New Custom Post Types
Go to Meta Box and create a new post type for the Departments.

After creating, you can see the post types displayed in the Admin Dashboard. This is the list I have.

Create a Relationship
Go to Meta Box, Relationship, and create a new one.

There’ll be the From and To sections as follows. The relationship is bidirectional, so you can put the two post types into any section.
Since they are post types, remember to set the object type as Post in both sections.

Set the Post type in the From section as one that we want to be in the relationship. In this case I set Posts, so the rest one in the To section will be the Departments.

Enable this setting if you want to show them as an admin column.

After publishing, go to the post editor, you will see the section for setting relationships. Just fill the post information and choose its departments.

These are some posts I have. And, you can easily view the Posts and the related Departments information in these columns.

Create a Custom Field
To add departments to each user, I will create a custom field. Feel free to add additional fields depending on your needs.
Now, go to Meta Box > Custom Fields, and create a new field group.

For the user department, choose the Post field type, then choose Post type as Department.

Enable this setting to show them as an admin column.

Then, move to the Settings tab, choose Location as User to apply the field to it.

Now, in each user profile, you can see the Department field section. Click on it to select the department.

After updating, you can see users with related work departments in the dashboard like this.

Display Posts on an Archive Page
Navigate to the Oxygen > Templates, and add a new template.

Next, go to Pages, create a new page for the Documents.

Then, scroll down to the Oxygen section, and choose the created template to render the page using it. Edit the page with Oxygen.

Choose the Documents for the Editing and Previewing.

First, select a Section component to contain all of the page content.

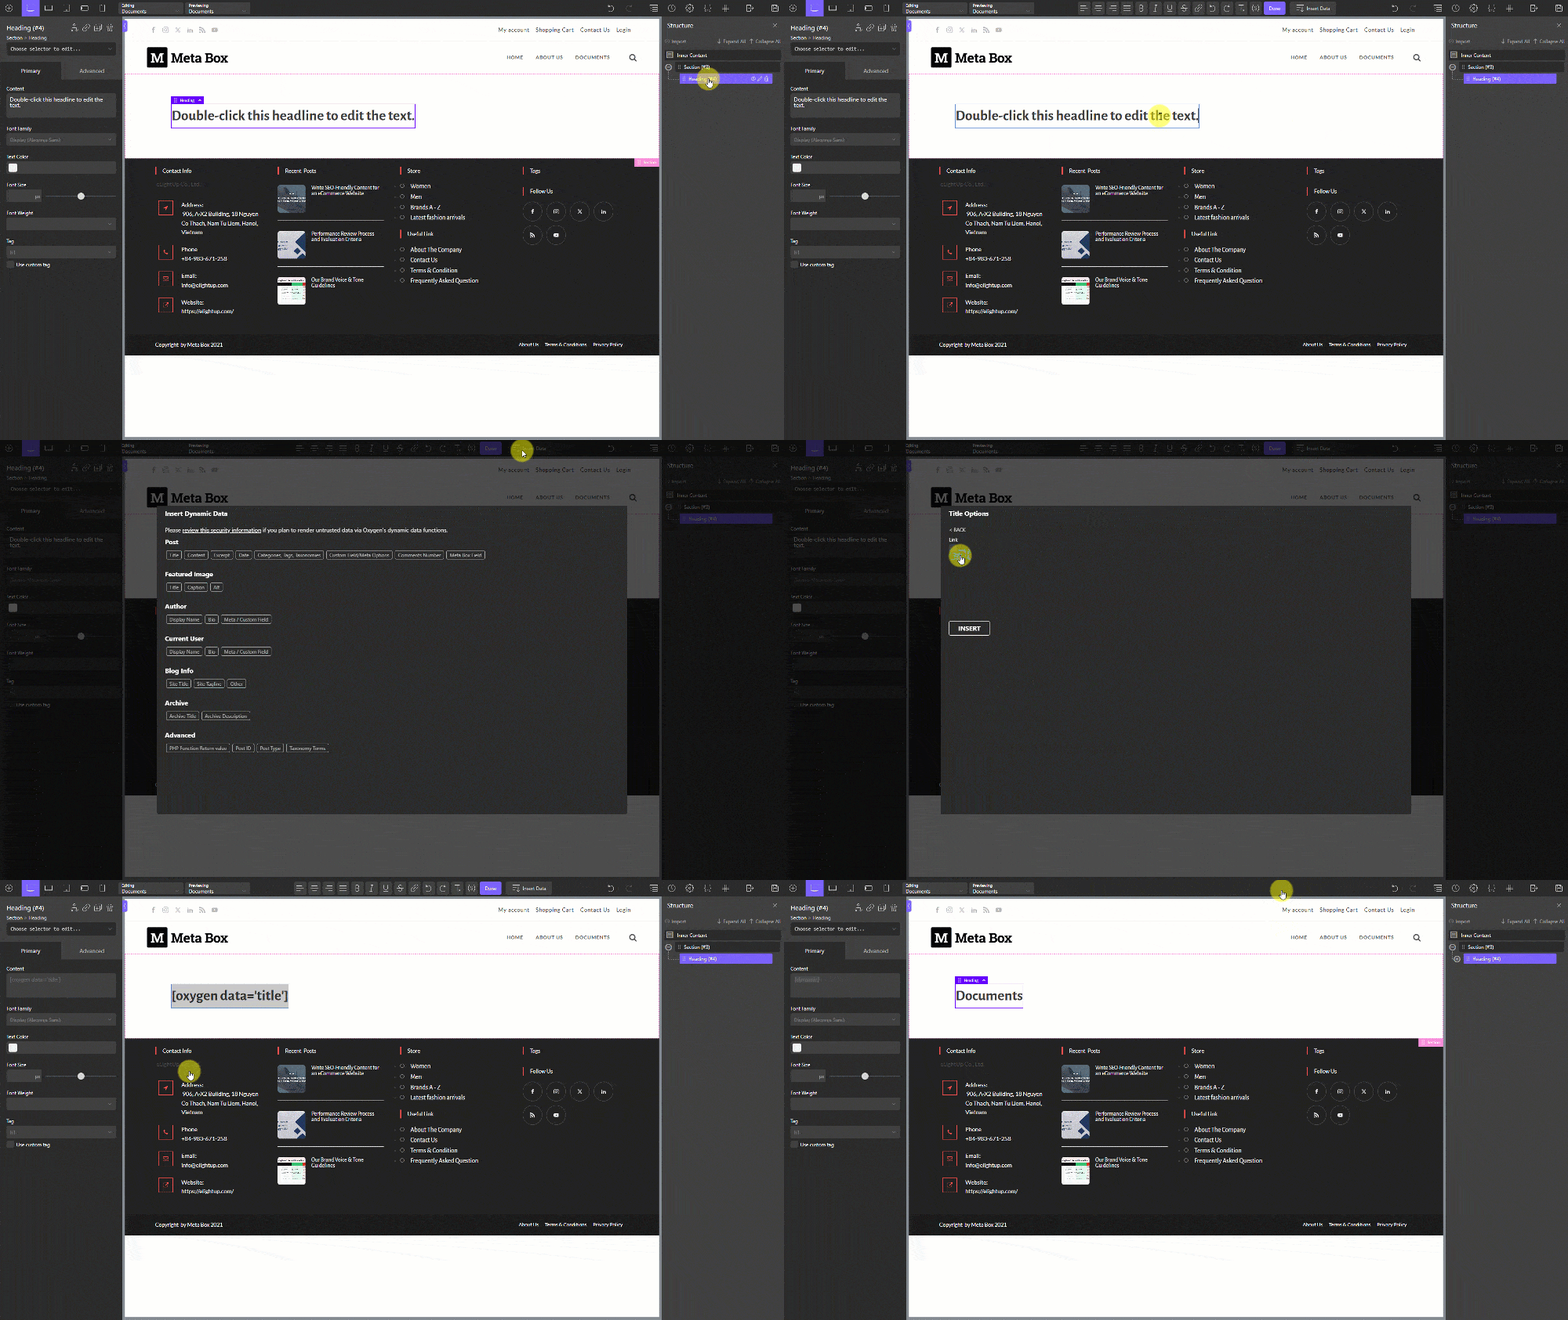
To get the title of the page automatically, add a Heading component, then click Insert Data, Post, Title to connect it with the title of the page.
Since we have more than one post on the page, you should add a Repeater component to define information structure for them all.

Go to Query > Advanced, and add parameters for the query like this.
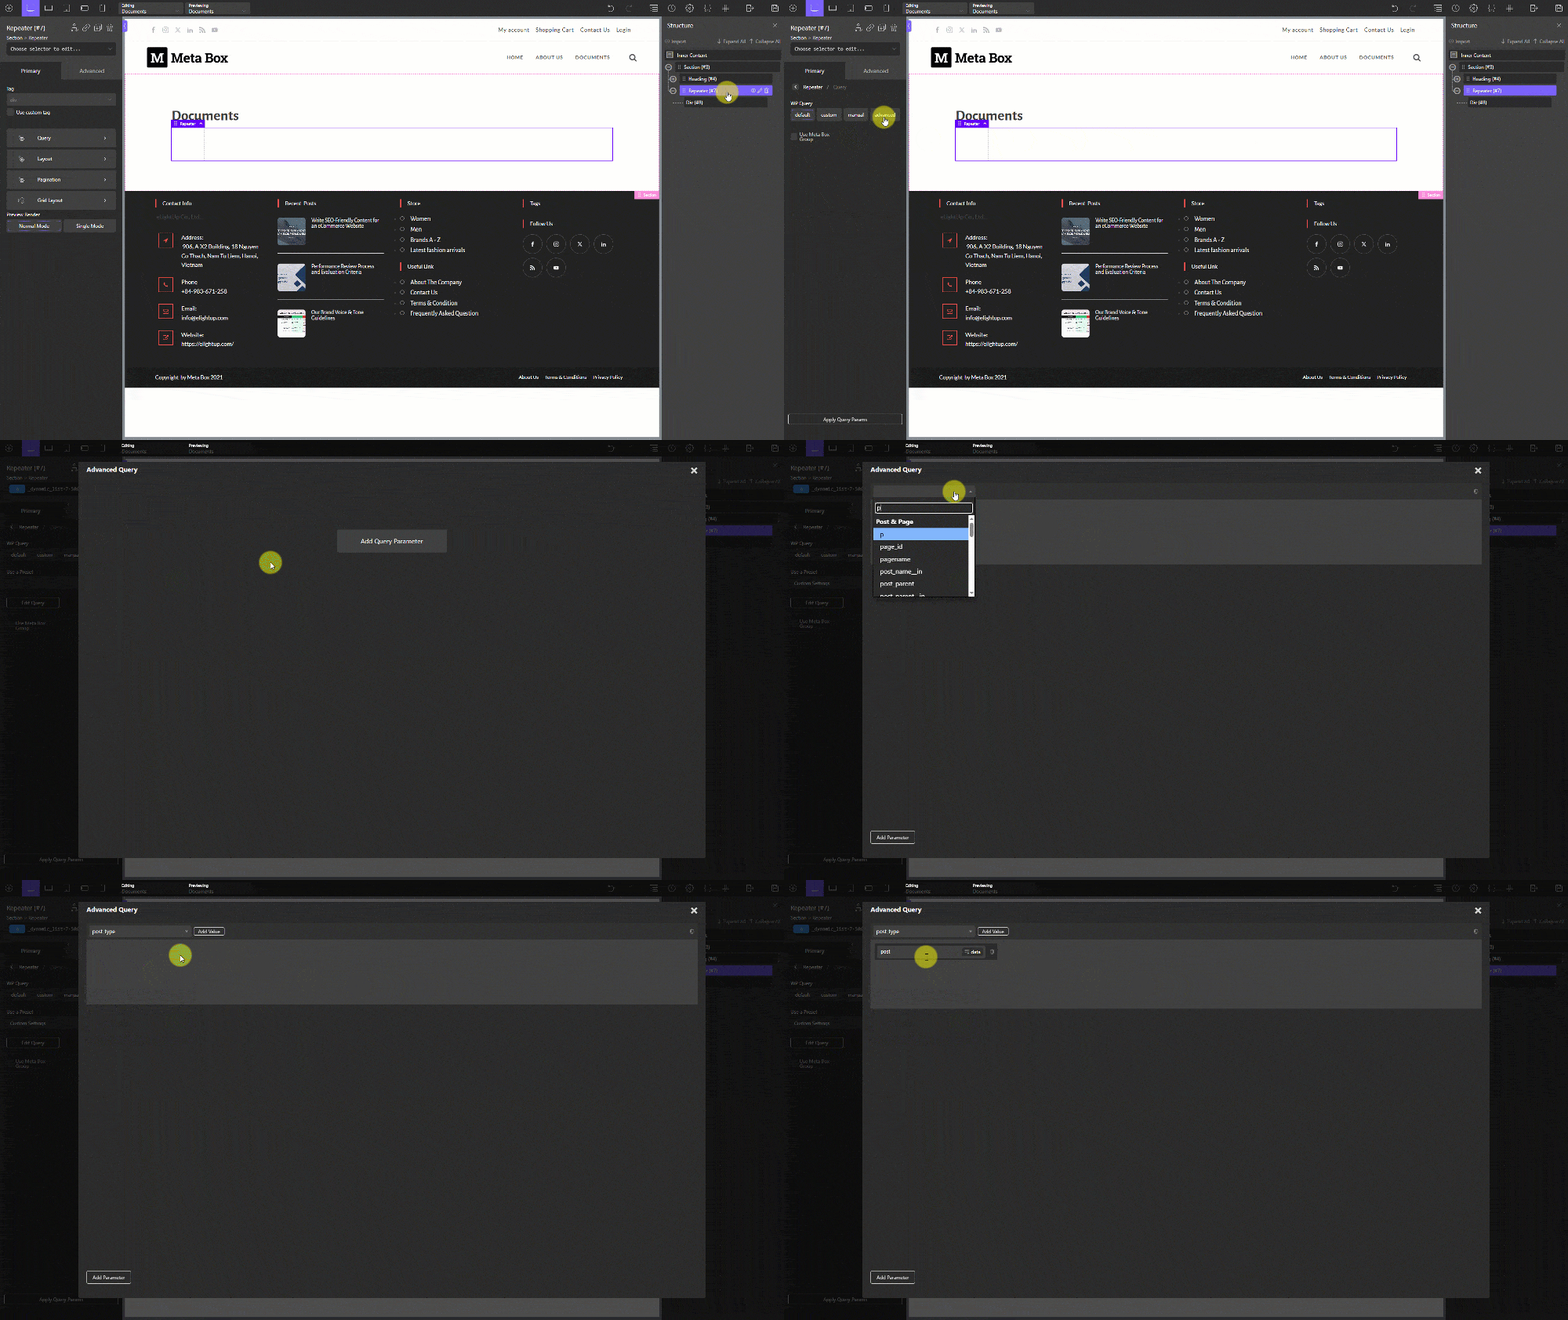
In there, post is the slug of the Post post type. It means that we’ll get posts from this post type.

I want to get all the posts we have, so the setting will be like this.

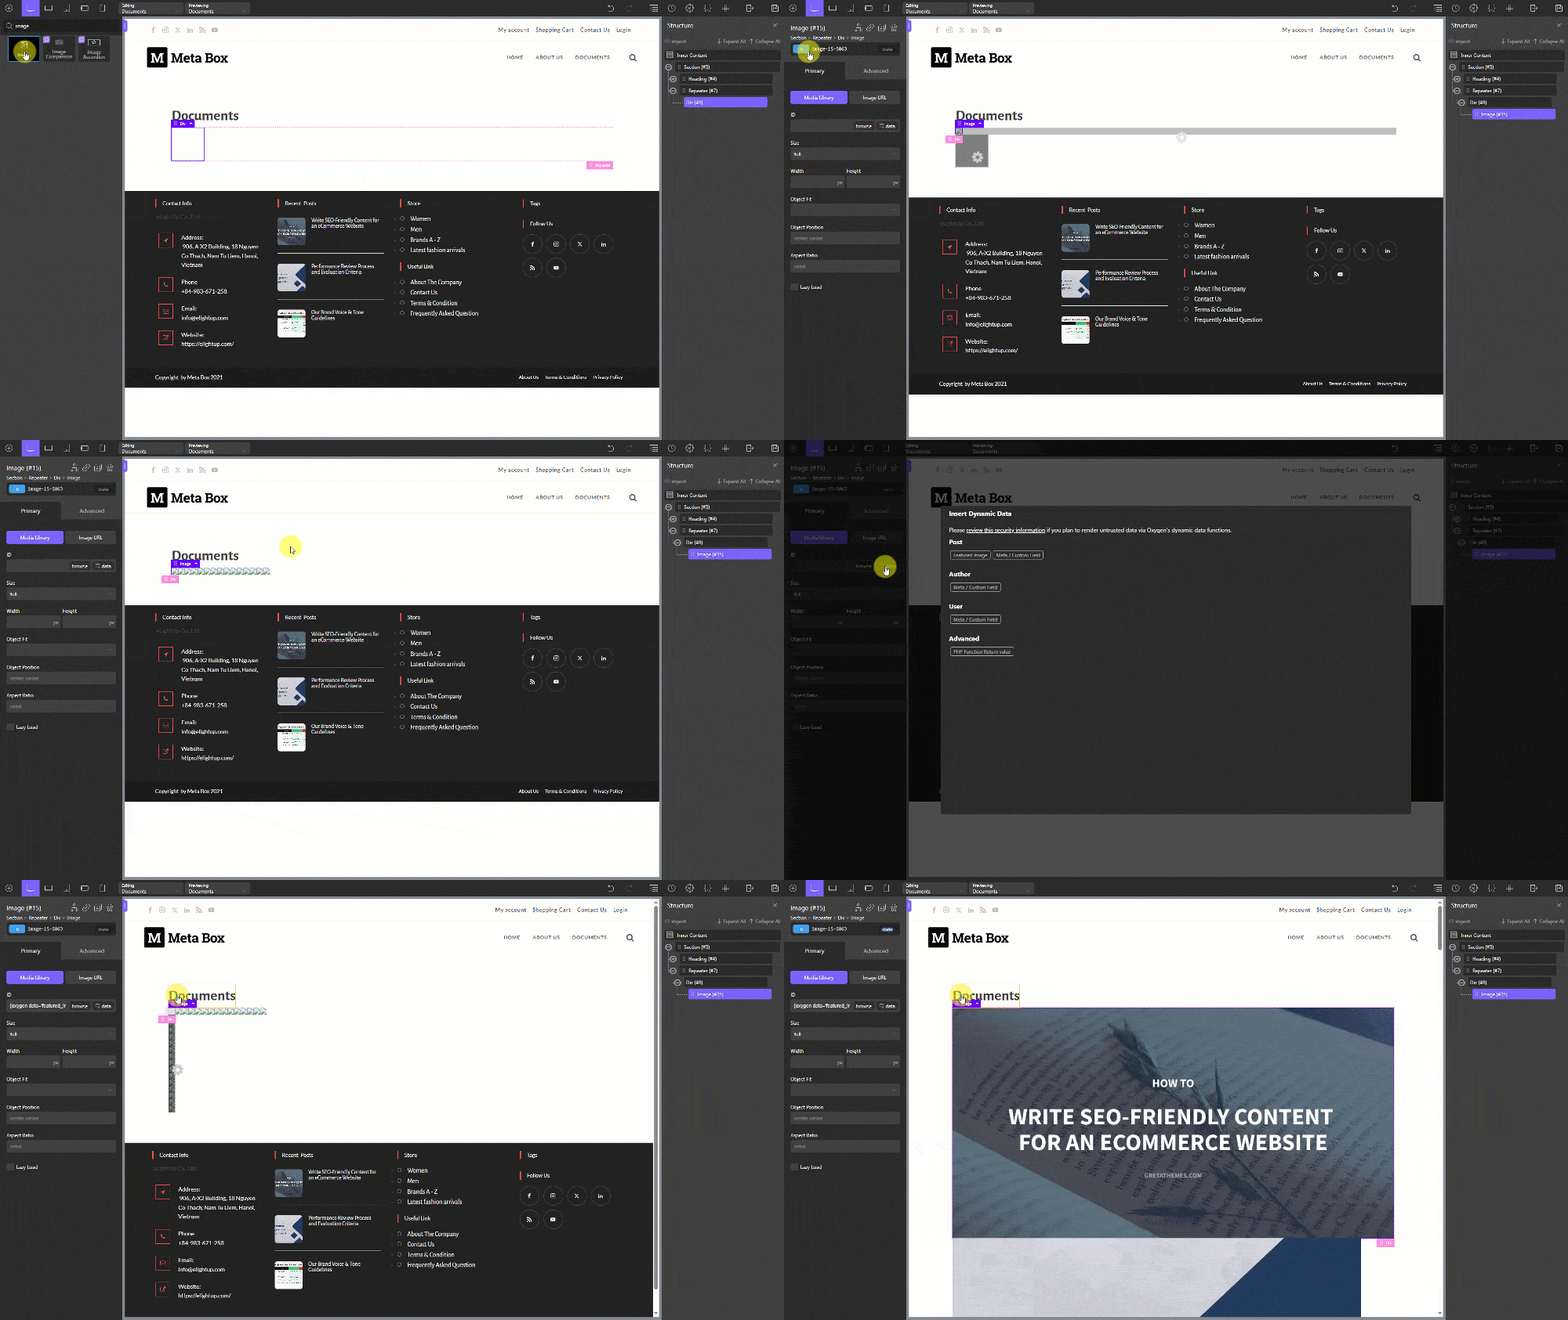
Inside the Repeater component, there’ll be a Div. Add some components inside this Div to display the posts’ information.
I added an Image component and inserted data from the Featured Image of the post.
Next, add a Heading then insert data from the Post Title for the course name.
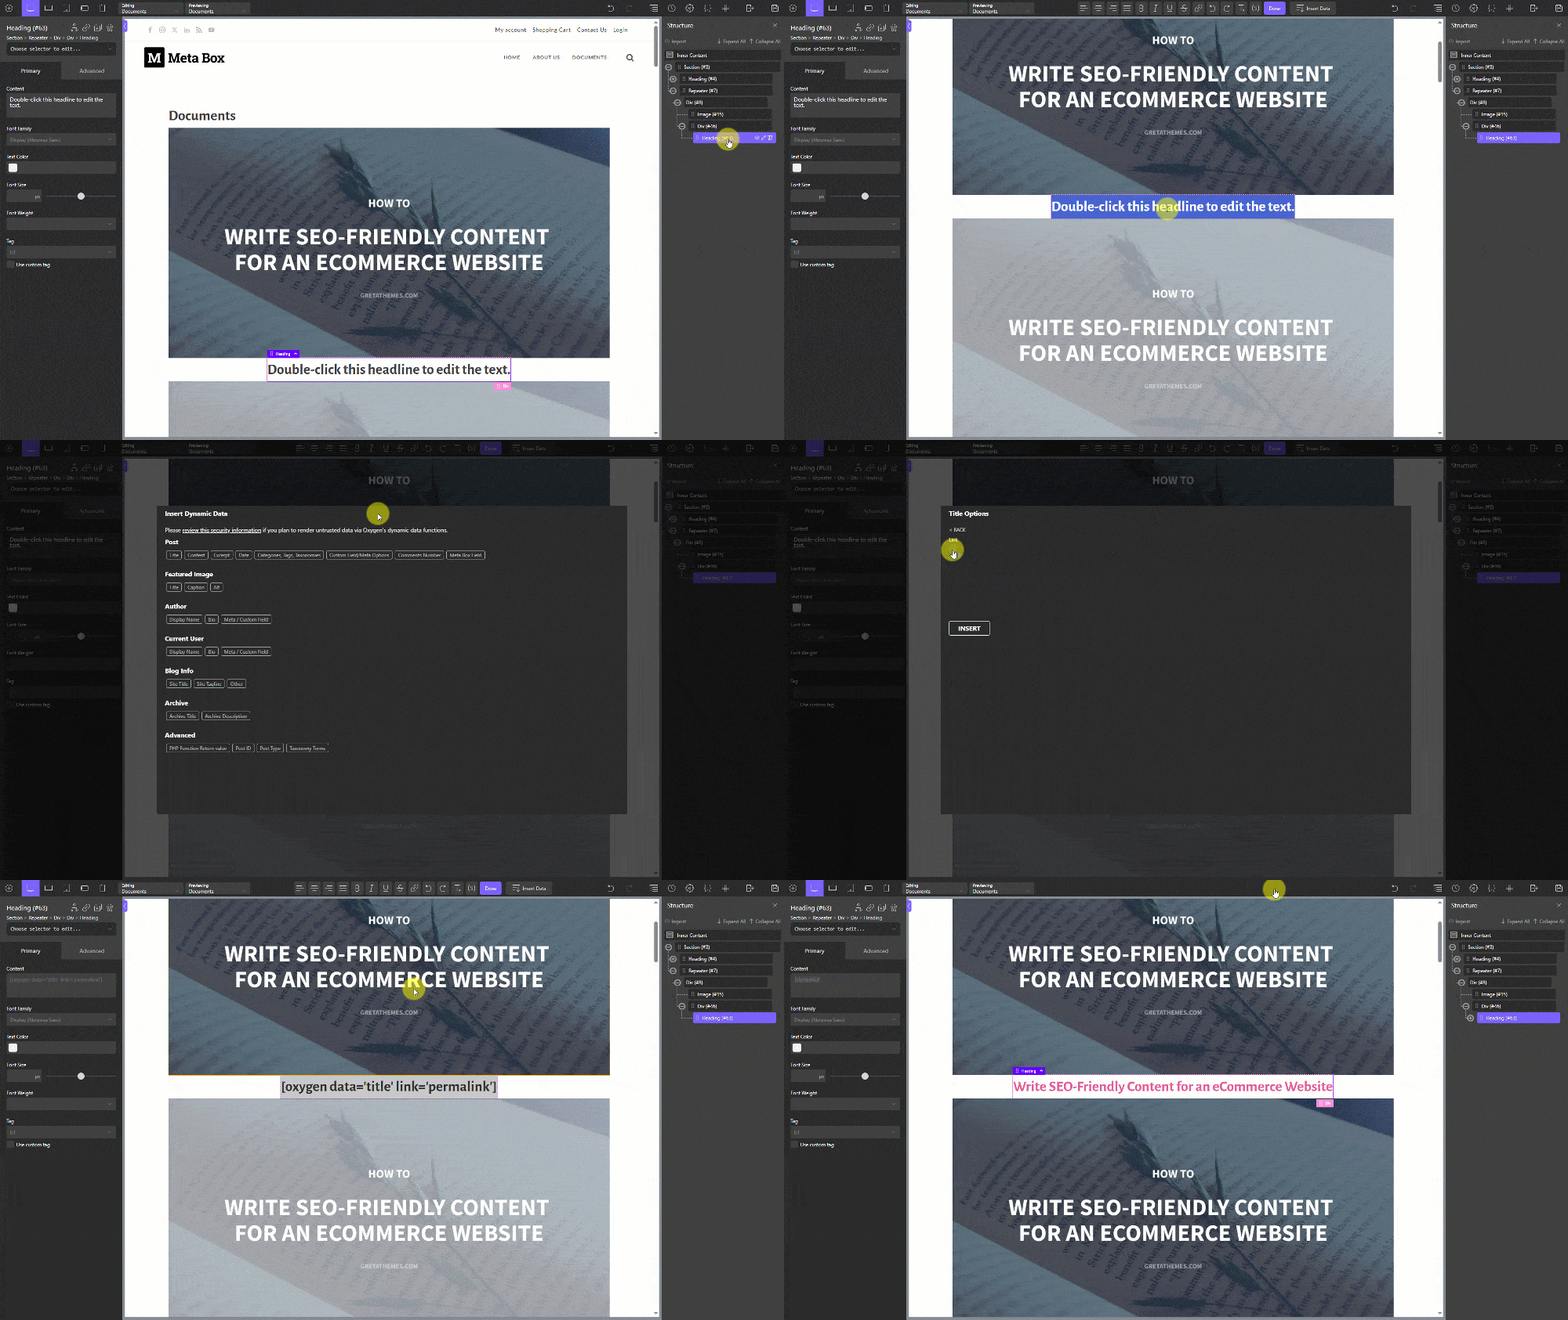
You may get the wrong name and image of the course, but don't worry about it. Just keep moving, you will see the right things later.
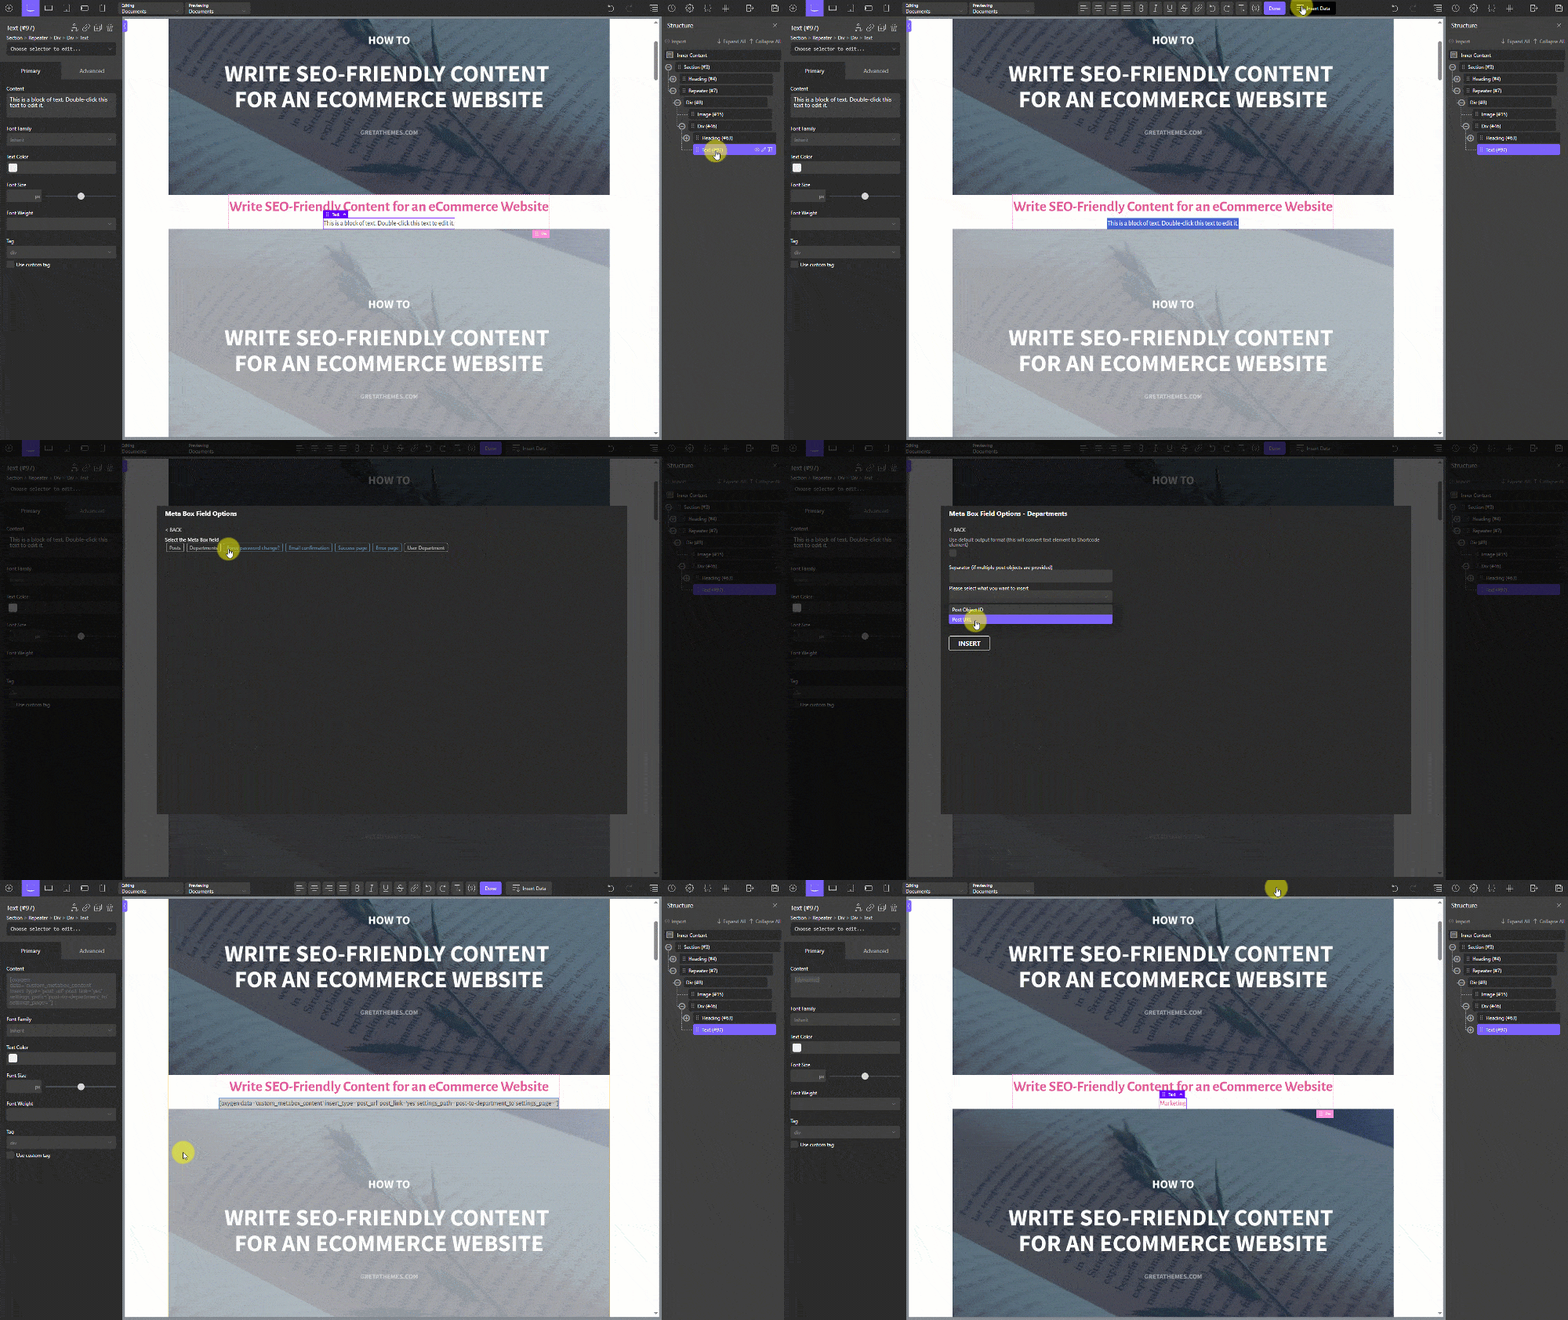
To get the department information of the post, add a Text component and insert data from Meta Box Field. If you want to display the department’ name along with the link, choose the Post URL option when inserting data like this. Immediately, you can see the post is displayed exactly with the related department’ name as follows.
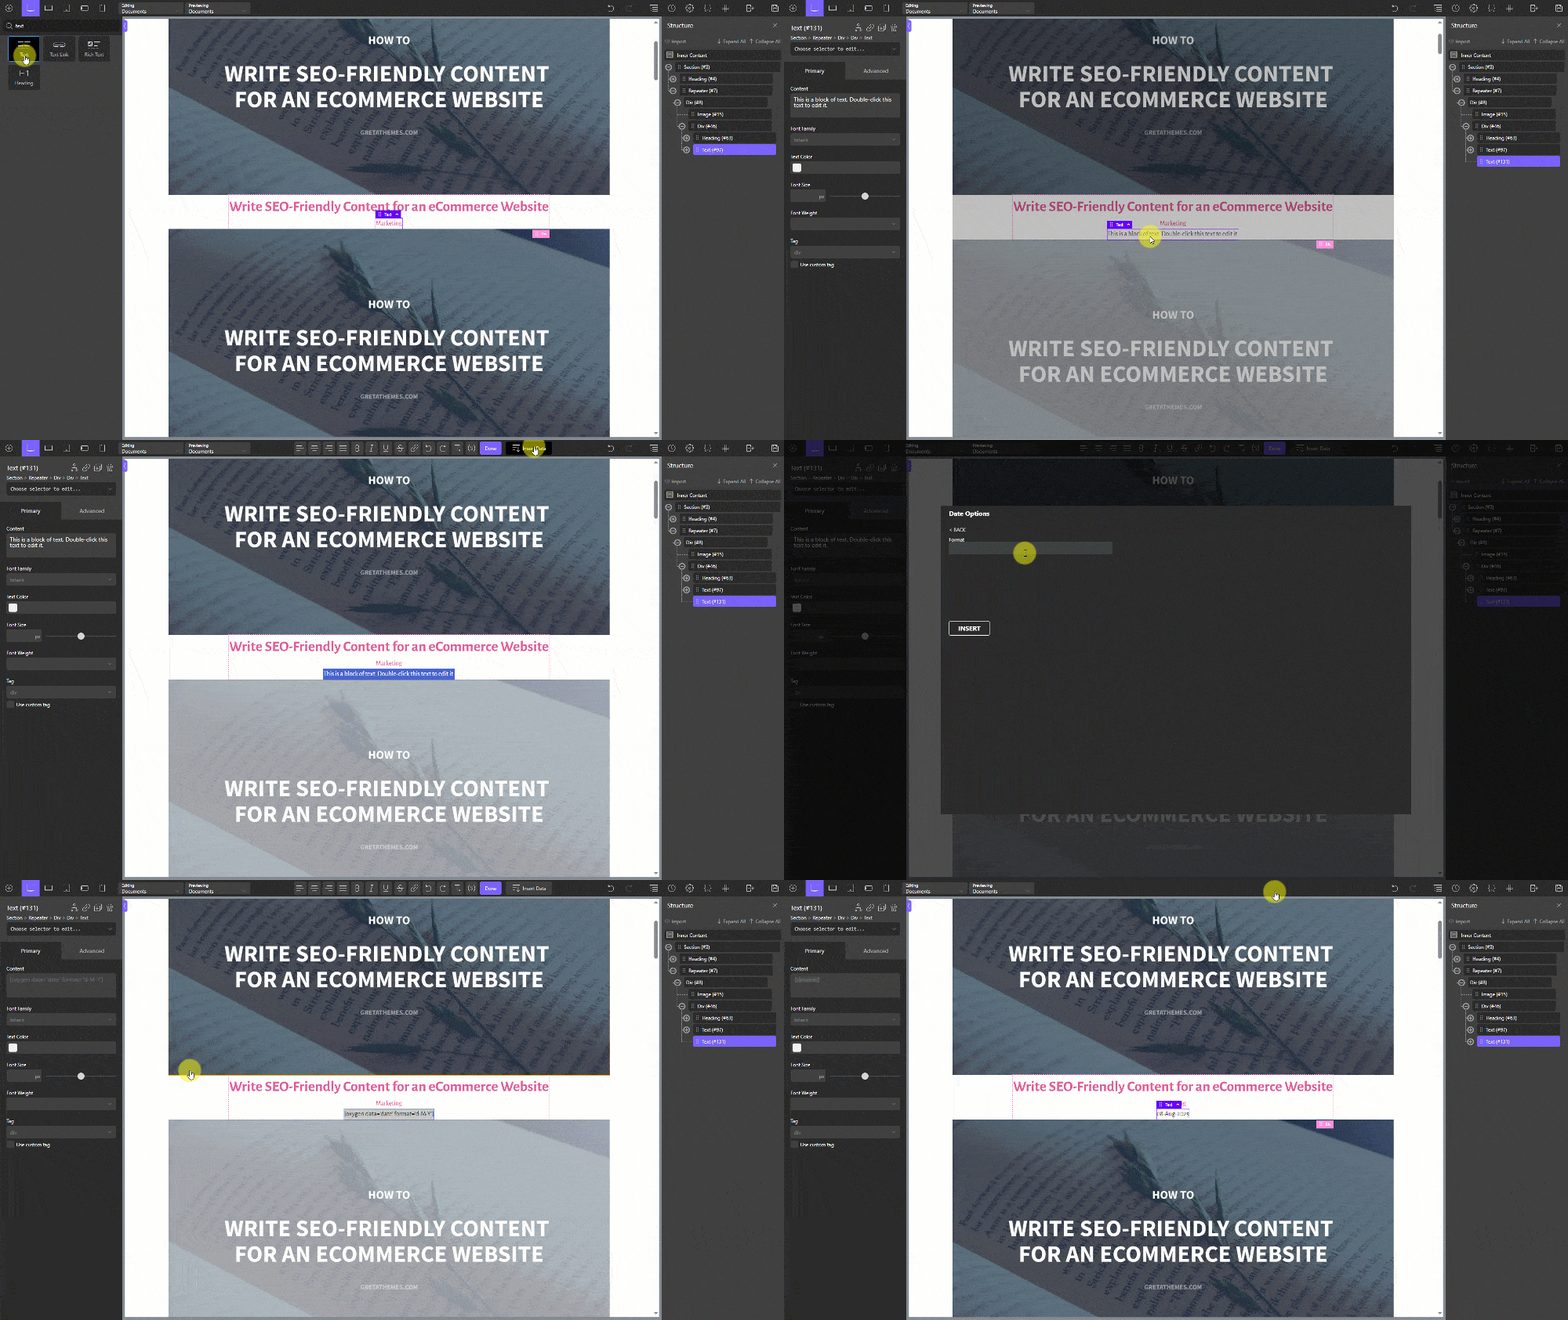
The last information of the post is date, add another Text below. Click on this to insert dynamic data. Choose the Date and fill the format that you want. In my example, I will put the format like this.
After getting all the wanted information for posts, view the page on frontend. You will see the image along with their information displayed correctly. But, it seems like we should style the page a little bit to have a better appearance.
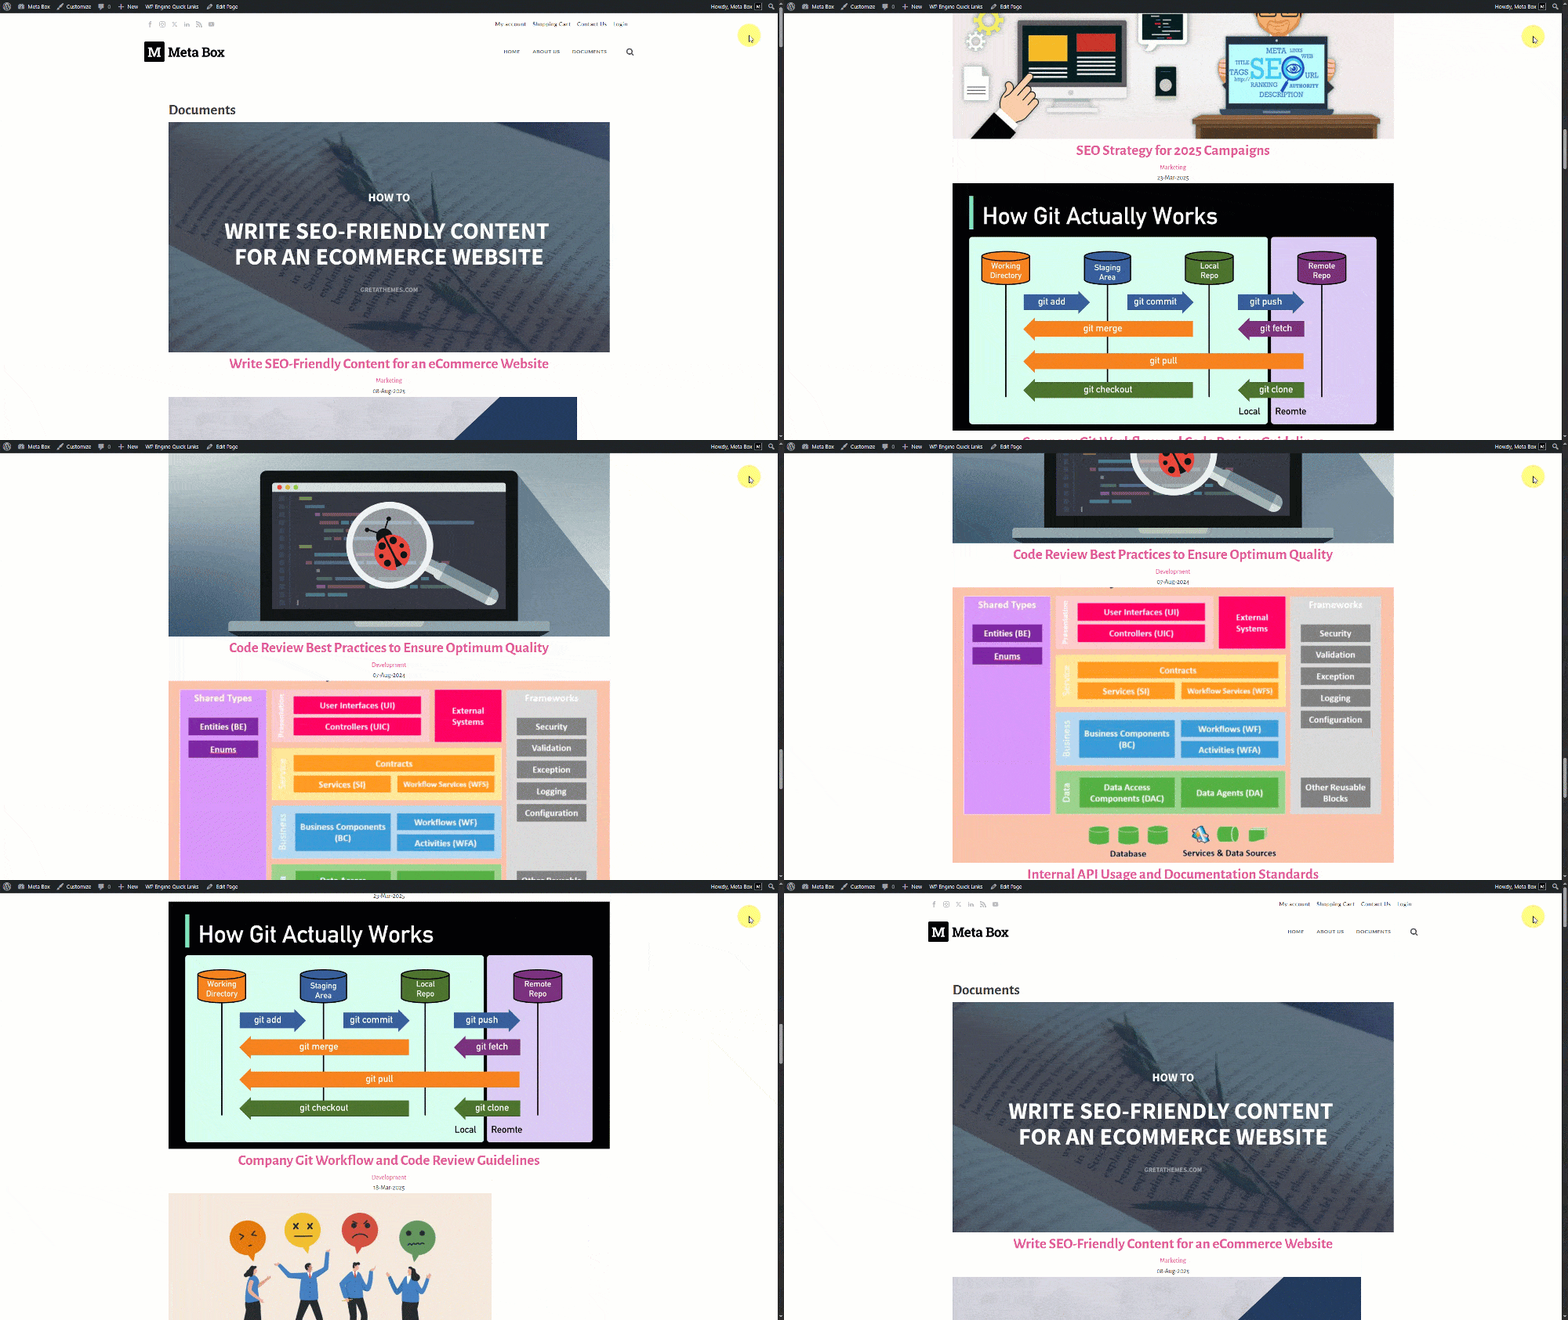
Back to the template, you can change the settings of each component to get the wanted look for the page. Here is the one that I got after styling.

Filter Posts by Relationships
Let’s add filter posts by Relationships so users can see the related posts of their department. Oxygen allows you to set rules for displaying posts easily.
In the Oxygen settings, click on the div right below the repeater component, move to the setting tabs, choose the Conditional Settings icon to set the conditions.

In the conditions’ pop up, add a new rule. Select User Logged In below the list and set the next box of the conditions setting like this. This rule means that only valid users will see the displayed posts.

Next, add the second rule. In the dropdown, choose Dynamic Data, Meta Box Field and Departments. Choose Post Object ID so that Users can see the related posts of their department.
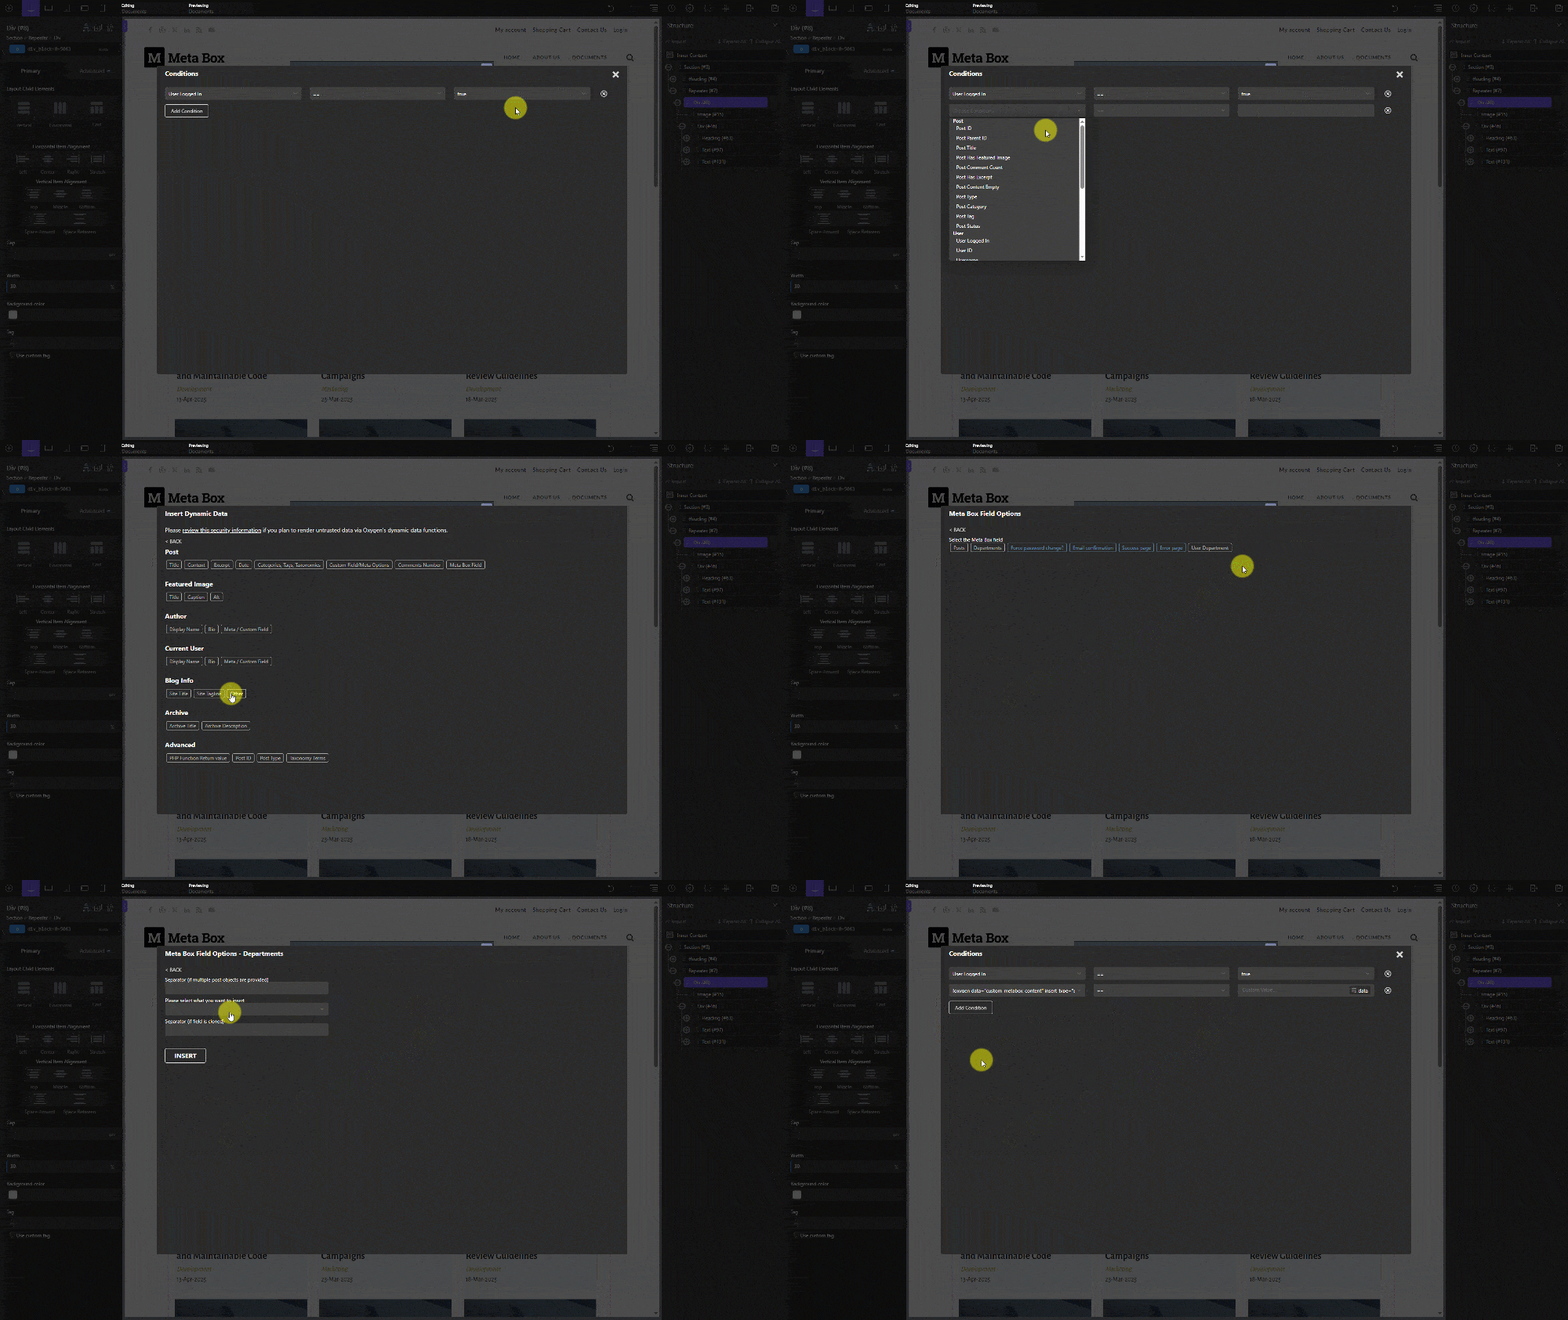
In the next box of the conditions setting, choose contains to compare whether the data above contains a certain value. Then in the last box, click on the data button, move to Current User and choose Meta or Custom field. Fill the Meta Key as user_department so that we can get the department field value of the current user.
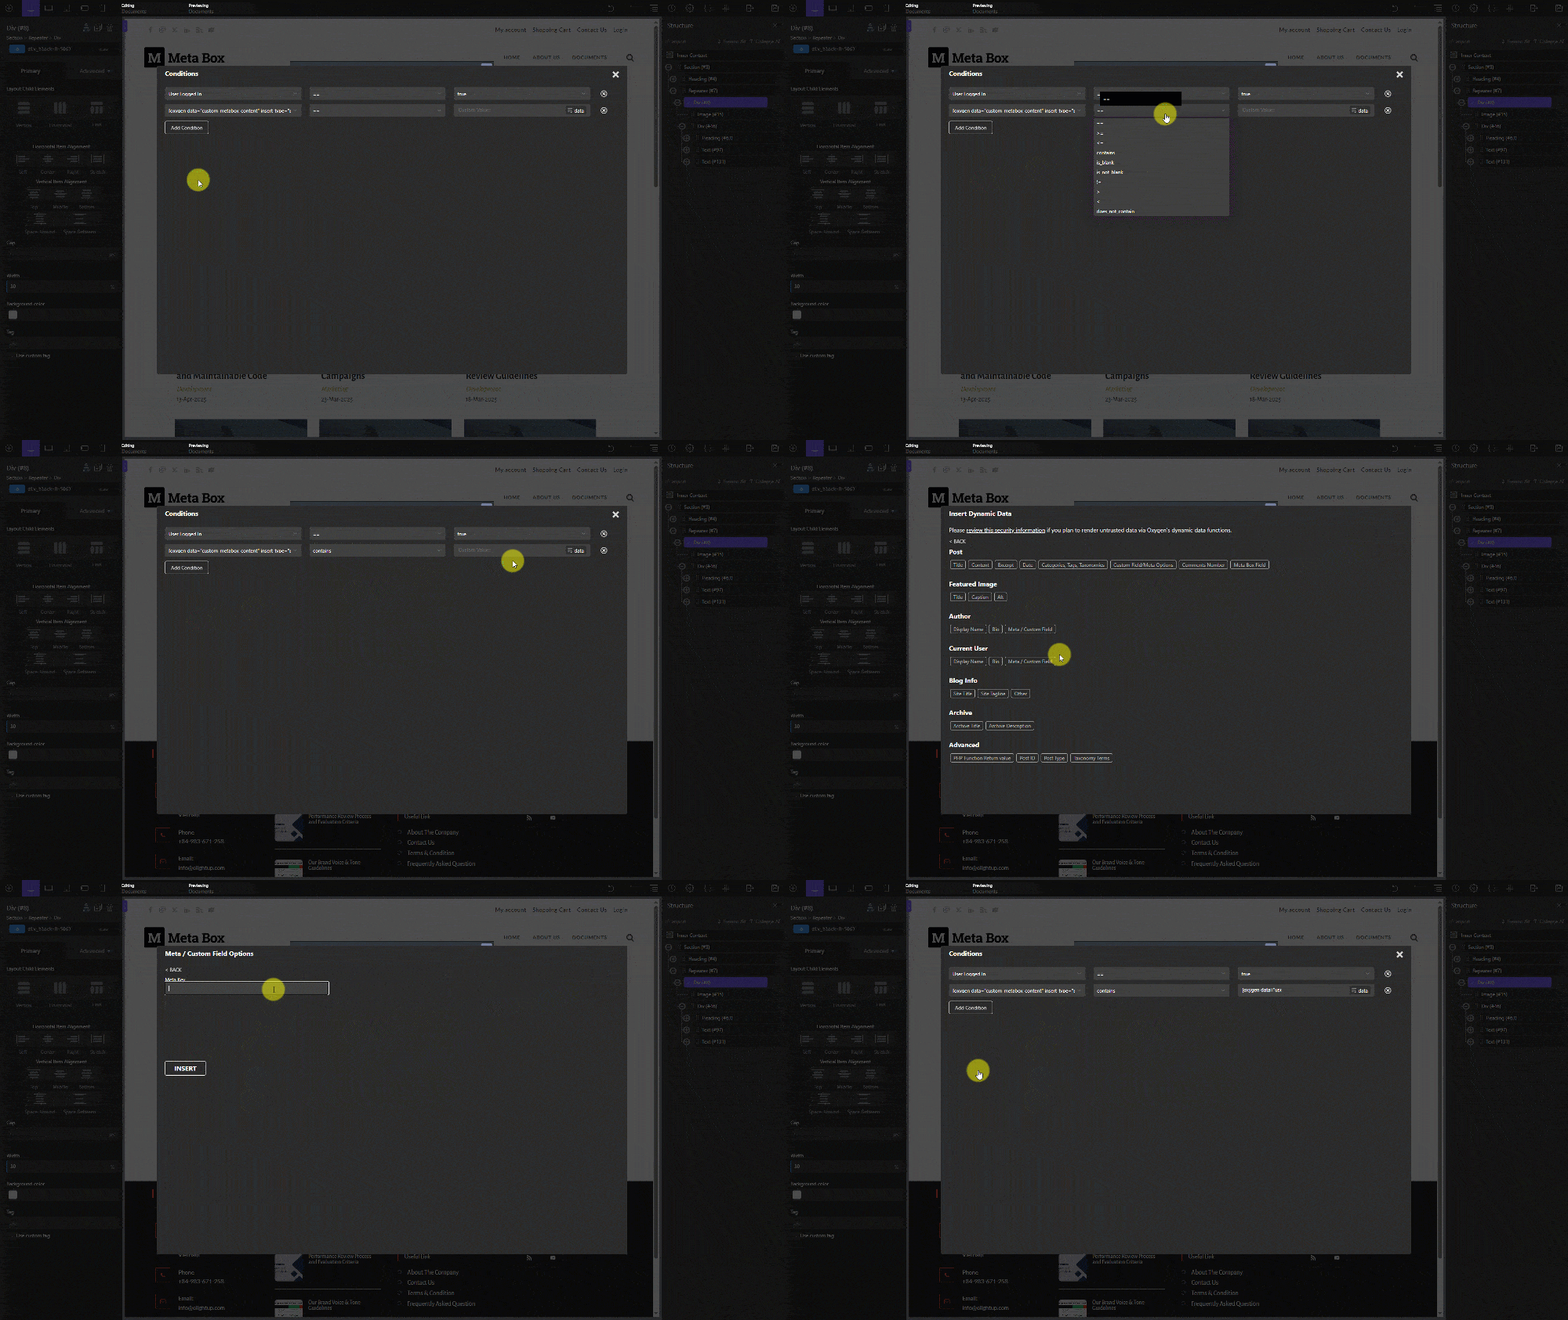
Now, go to the page on frontend, You will see the filter works well.
First, all posts are displayed in the admin account. Log out and log back in to each user account. You can see users in different departments will only see posts from the related department.

Last Words
With this setup, you’ll have a secure and dynamic list that displays only the posts linked to the right department, keeping everything clean and relevant. It’s a simple yet flexible solution whenever relationships play an important role. If you have any questions or feedback, feel free to share them in the comments. Good luck!
- How to Filter Posts by Relationships - P1 - Meta Box + Bricks
- How to Filter Posts by Relationships - P2 - Using MB Views
- How to Filter Posts by Relationships - P3 - Meta Box + Oxygen
- Author Bio
- Better 404 Page
- Blogs for Developers
- Building a Simple Listing Website with Filters
- Building an Event Website
- Building Forms with MB Frontend Submission
- Coding
- Create a Chronological Timeline
- Custom Fields Fundamentals
- Design Patterns
- Displaying Posts with Filters
- Download and Preview Buttons
- Dynamic Banners
- Dynamic Landing Page
- FAQs Page
- Featured Products
- Filter Posts by Relationships
- Filter Posts by Taxonomy
- Full Site Editing
- Google Fonts
- Gutenberg
- Hotel Booking
- Latest Products
- Logo Carousel
- MB Builder Applications
- MB Group Applications
- MB Views Applications
- Most Viewed Posts
- Opening Hours
- OTA Website
- Pricing Table Page
- Product Page
- Product Variations
- Querying and Showing Posts by Custom Fields
- Recipe
- Related Posts via Relationship
- Restaurant Menus
- SEO Analysis
- Simple LMS
- Speed Up Website
- Taxonomy Thumbnails
- Team Members
- User Profile
- Video Gallery

 How to Filter Posts by Relationships - P2 - Using MB Views
  How to Filter Posts by Relationships - P1 - Meta Box + Bricks
  How to Create Relationships - P1 - Using Meta Box and Oxygen