
Besides directly filtering by custom fields or taxonomies, you can also create a dynamic filter. Today, let’s explore how to determine the status of a project or event based on its date range, then filter posts by it. Both of these goals are handy by MB Views from Meta Box.
I put this tutorial on a real case: filter projects by status based on the date range from custom fields, as you can see:

Before getting started, let’s check some tools we need for these tutorials.
Video Version

Before Getting Started
Each project is a post of a custom post type. And the date range includes start date and end date, and other extra information for the project will be saved in custom fields created with Meta Box. For displaying projects and adding filter, I use MB Views.
So, you should have Meta Box AIO on your site to have both the framework and advanced features from Meta Box extensions. These are the extensions we use:
- MB Custom Post Type: to create a custom post type for the projects.
- MB Views: to create a view for displaying projects and building the filter.
- MB Builder: to have a UI in the backend to create custom fields visually.
That’s all. Let’s start now.
Create a Custom Post Type and Custom Fields for the Projects
These are basic steps. So to save time, I’ve had them already. I also applied a field group to the project post type to add extra information for posts. In it, we obviously added fields for the start date and end date. Besides them, you can add any fields you want.

As a result, when you add a new project, you can see the custom fields and input data for them.

And these are projects I have.
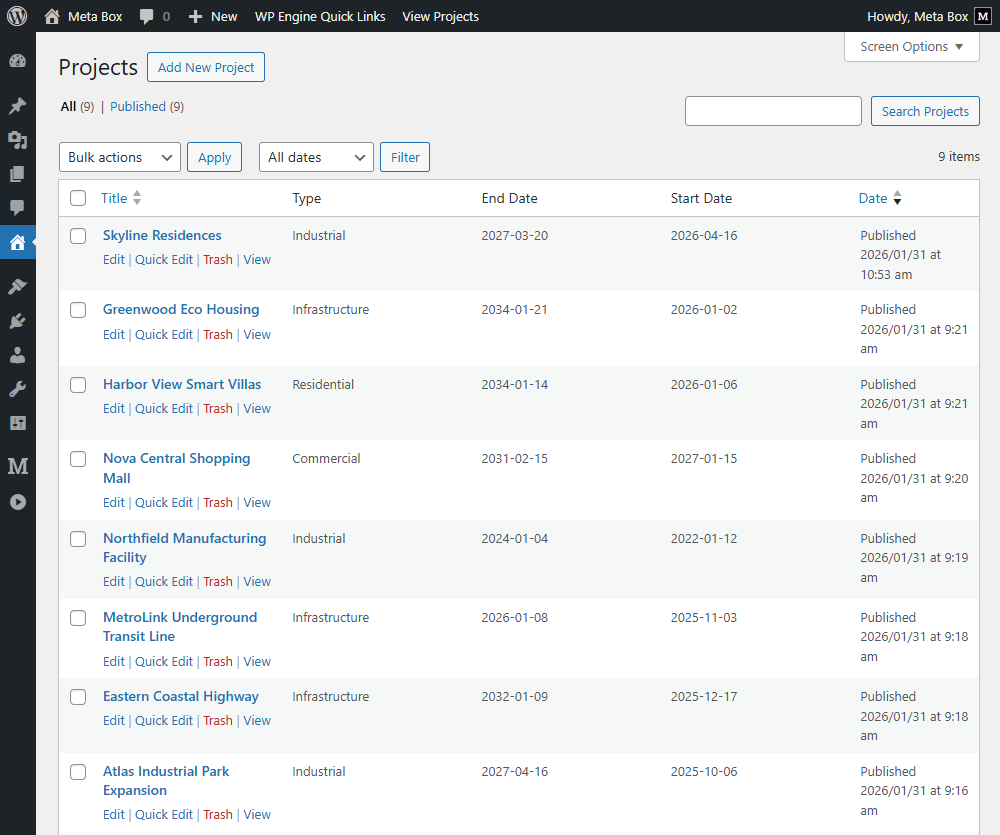
I show the start date and end date in columns so that you can compare them with the current day easily.
After having the data, we will display all the projects and their information on the frontend in the next step. And the filter will be built later.
Display Projects on a Page
I create a page that contains all the projects first.

Display Data on the Frontend
Go to Meta Box > Views to display data.
We have had many tutorials about how to display posts of a custom post type and data that is stored in custom fields. So you can refer to them for details and explanation.

Don’t forget to apply this template to the page you created before.

Then, when you view the page, you can see all the projects and their information is displayed fully and exactly. But you should style it a little bit for more beautiful and attractive.

Style the Page
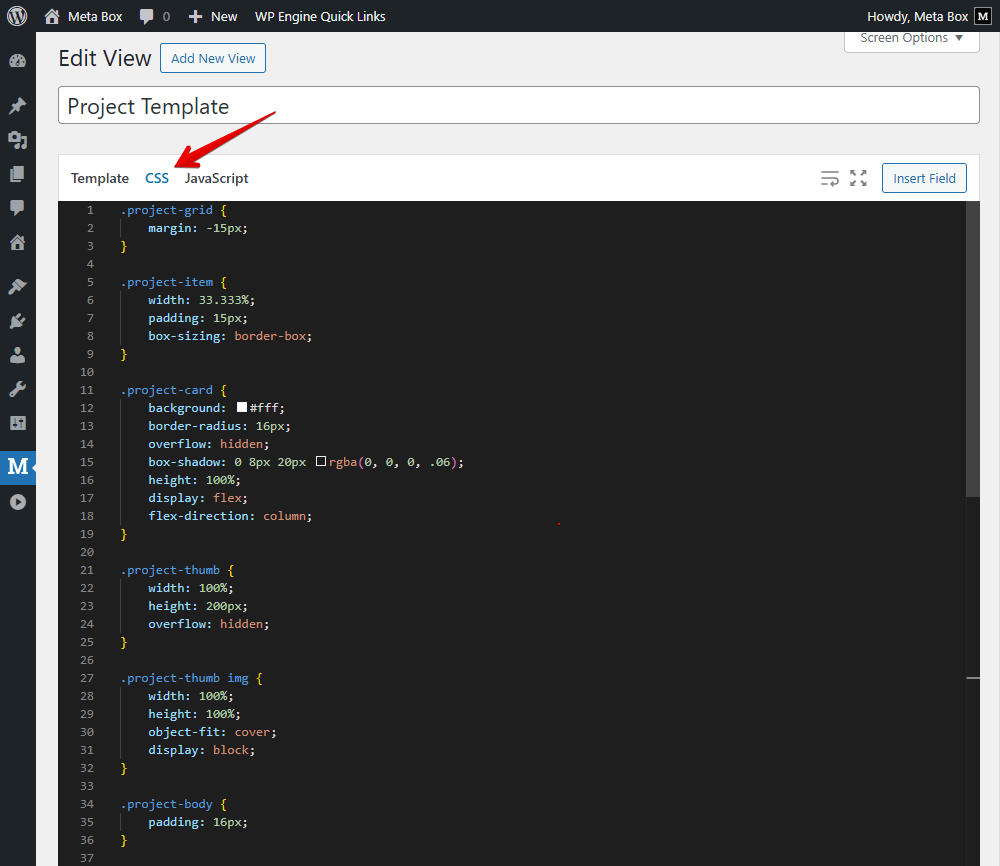
Back to the template, then add and modify code like this:

In there:
<script src="https://ajax.googleapis.com/ajax/libs/jquery/3.7.1/jquery.min.js"></script>
<script src="https://unpkg.com/isotope-layout@3/dist/isotope.pkgd.min.js"></script>
These are to declare that we’ll use a JavaScript library for the grid layout and the Isotope library for the filtering part. It’ll be used in the step of building the filter later.
Then, I add some CSS for styling.
Next, I move to the JavaScript tab to add an action for the grid.

On the frontend, I have a new look of the page.

Now, let’s move on to the most important part of this tutorial.
Determine Project Status and Filter by It
The logic we use here is: Compare the current time to the date range you set for each projects. This is similar to the logic we use in the Upcoming Event Series. We’ll determine the status will be one of three cases: past, ongoing, or upcoming. Then, there are options for the filter.
Also, use the template in the previous step and add some code.

Specifically:
{% set today = "now"|date("Y-m-d") %}: is to set an attribute for the current day. Don’t forget to transform the format of the date to make it comparable.
<div class="project-filter">
    <button class="filter-btn is-active" data-filter="*">All</button>
    <button class="filter-btn" data-filter=".past">Past</button>
    <button class="filter-btn" data-filter=".ongoing">Ongoing</button>
    <button class="filter-btn" data-filter=".pending">Pending</button>
</div>
This part is to create buttons for the filter. We have four buttons with labels.
Next, to retrieve data of the start/end date of each project and format them as well, I use these lines:
{% set start = post.start_date|date('Y-m-d') %}
{% set end = post.end_date|date('Y-m-d') %}
And, this is the core logic:
{% if end < today %}
    {% set status = 'past' %}
{% elseif start > today %}
    {% set status = 'pending' %}
{% else %}
    {% set status = 'ongoing' %}
{% endif %}
It’s used to compare the current date to two values that you have retrieved above.
In there, if the project’s end date is earlier than today, it means the project has already finished. In this case, its status is set to past.
In the case that the project’s start date is later than today, it means the project has not started yet. Therefore, its status is set to pending.
In the other situations, today falls between the start date and the end date, so the status is set to ongoing.
All the status values will be saved in the status attribute. Then, simply assign that attribute to the project item.
I also add some CSS for the filter.
Now, navigate to the JavaScript tab to add an action for the filter.
$('.filter-btn').on('click', function () {
    var filterValue = $(this).data('filter');
    $grid.isotope({ filter: filterValue });
    $('.filter-btn').removeClass('is-active');
    $(this).addClass('is-active');
});

In there:
$('.filter-btn').on('click', function () {: is to attach a click event handler to all elements with thefilter-btnclass, and the code inside will run whenever a filter button is clicked.var filterValue = $(this).data('filter'): is to retrieve the value of thefilterattribute from the button that was just clicked.$grid.isotope({ filter: filterValue }): The isotop library will filter the grid items based on the selected filter value.$('.filter-btn').removeClass('is-active'): is to remove theactiveclass from all filter buttons to reset their active state.$(this).addClass('is-active'): is to add a class to highlight the selected status.
That’s all. I uploaded all the code I used in this practice to GitHub, so you can refer to it.
Now, let’s check how it works.
I built the demo on 9th February. So when you filter the past projects, you can see all of them are finished before Feb 9th.

The two remaining status are work fine.
Last Words
This filter provides a clear view of upcoming events, projects, or so on, allowing you to manage tasks and priorities effectively. We have many tutorials about creating filters for your websites by diverse criteria. So we hope they’re useful for you.
Try to create your own dynamic filter and share the result with us. If you have any suggestions for the next tutorials, please tell us in the comments. Thanks for reading!
- Advanced Map Listings
- Author Bio
- Better 404 Page
- Blogs for Developers
- Building a Simple Listing Website with Filters
- Building an Event Website
- Building Forms with MB Frontend Submission
- Coding
- Create a Chronological Timeline
- Custom Fields Fundamentals
- Design Patterns
- Displaying Posts with Filters
- Download and Preview Buttons
- Dynamic Banners
- Dynamic Landing Page
- FAQs Page
- Featured Products
- Filter Posts by Relationships
- Filter Posts by Taxonomy
- Full Site Editing
- Google Fonts
- Gutenberg
- Hotel Booking
- Latest Products
- Logo Carousel
- MB Builder Applications
- MB Group Applications
- MB Views Applications
- Most Viewed Posts
- Opening Hours
- OTA Website
- Pricing Table Page
- Product Page
- Product Variations
- Querying and Showing Posts by Custom Fields
- Recipe
- Related Posts via Relationship
- Restaurant Menus
- SEO Analysis
- Simple LMS
- Speed Up Website
- Taxonomy Thumbnails
- Team Members
- User Profile
- Video Gallery
 How to Create Filters for Real Estate Page - Meta Box + Bricks
  How to Create a Simple Listing - P6 - Using MB Views
  How to Show Upcoming Events - P4 - Using MB Views